
Overview
Kannir Sanctuary holds the Second Key of Hope. The content pack explicitly connects this sanctuary to Kannir Belt, the Act 2 region associated with the Sea of Energy achievement. That makes Kannir Sanctuary one of the clearest seal locations in the source material: the parent region, key identity, and achievement language all point toward a major mid-to-late progression anchor.
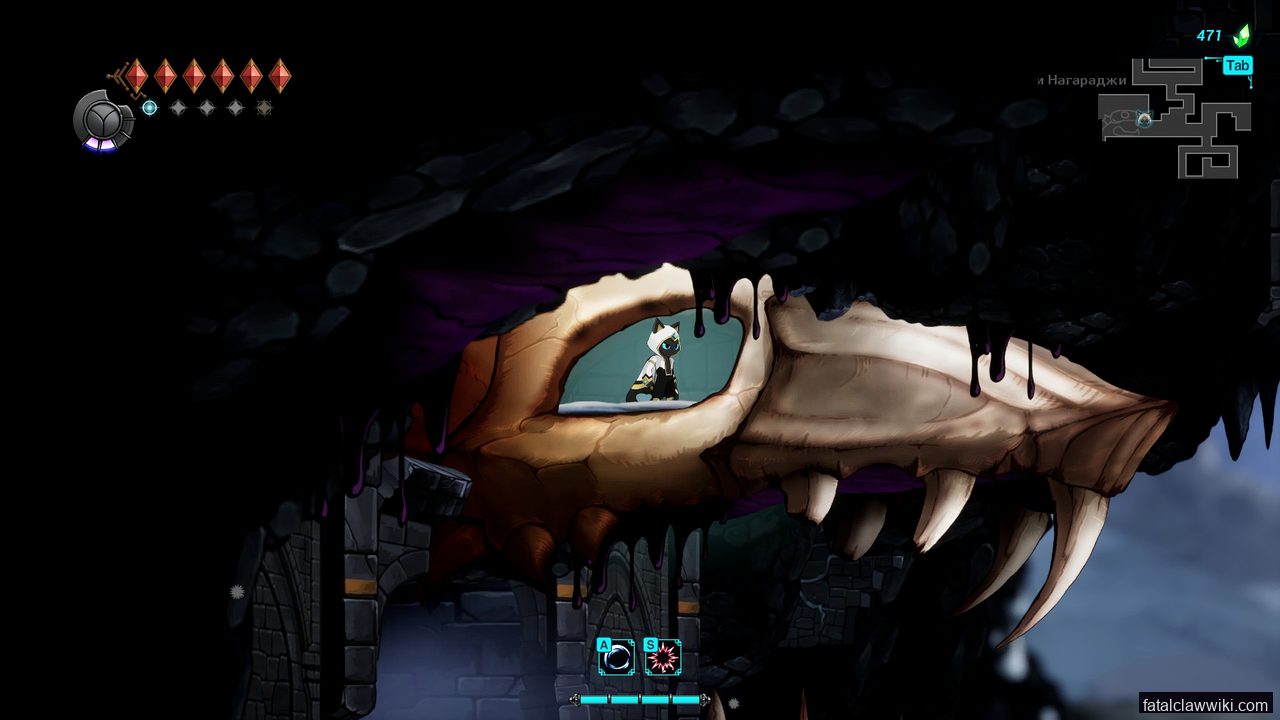
The atmosphere should inherit Kannir Belt’s energy-route pressure while feeling more focused than the belt itself. A belt can be a broad traversal region. A sanctuary is a destination. Expect the route to ask whether you have explored the energy area carefully, opened shortcuts, and understood which barriers were optional and which were pointing to the Second Key of Hope.
Difficulty should be treated as serious but not necessarily final. The Second Key sits after the First Key in the seal chain, but before Water Sanctuary’s Third Key, which has a confirmed Meditation of Jibanam requirement. In practical terms, Kannir Sanctuary is where players should stop treating keys as incidental pickups and start tracking seal progress intentionally.
How to Reach
Reach Kannir Sanctuary from Kannir Belt. The content pack says Kannir Belt carries the Sea of Energy achievement and that Kannir Sanctuary holds the Second Key of Hope. If you are missing the sanctuary, return to the belt rather than searching random late-game rooms first.
The exact entrance route is not published in the source pack. Use Carox to identify unresolved belt rooms, especially branches that looked like energy barriers, vertical routes, or sealed sanctuary approaches. Make sure any local shortcuts are active before committing to a deep run. A long energy route becomes much safer when you can leave, rest, rebuild healing orbs, and return without repeating every room.
Recommended tools include Blink, Mutated Abilities, Engraved Skills, Cabitz, dash, air dash, wall climb, glide, and upgraded Claw damage through Kannium or Silver Claw progress where available. Silver Chain can help with late cleanup after Aphotic Marsh, but the source pack does not mark it as a required first-entry tool for Kannir Sanctuary.
Bosses Here
There is no named boss in the source pack, encounters use elite mobs, energy-route guardians, and seal pressure rather than a confirmed Kannir Sanctuary boss.
For seal context, Ain Boss Guide is relevant because Ain is involved in the three seals. For late route pressure after the sanctuary, Nagaraja Boss Guide helps connect key progress to Sealed Spire preparation.
Ability Gates
Kannir Sanctuary is likely to check both route readiness and combat build quality. Mutated Abilities solve physical movement barriers. Engraved Skills counter dangerous enemy abilities. Cabitz lets you tune those skills for the sanctuary’s pressure. Blink remains the universal correction tool when a narrow room or elite placement pushes Kisha into a bad line.
Because Kannir Belt is framed as a Sea of Energy, do not assume every energy-looking barrier is solved with raw movement. Some may be route state, some may require a skill counter, and some may become readable only after opening a different path. If the sanctuary entrance remains blocked, ask whether you have the First Key of Hope, whether a Kannir Belt shortcut is missing, or whether a story state elsewhere has changed.
Collectibles & Secrets
The Second Key of Hope is the central collectible. Track it separately from ordinary items because it can affect late progression and achievement cleanup. After obtaining it, revisit the belt map and see whether any locked route now makes more sense. Key items often change routing even when the source pack does not specify every affected door.
Other collectibles should be handled in two passes. First, reach the sanctuary and secure the key. Second, return with the key state and any new ability state to collect heart pieces, mana pieces, healing pieces, or later-cycle memory fragments. The source pack does not list exact Kannir Sanctuary item counts, so a clean map and Carox pins are more reliable than invented numbers.
Region Order
Kannir Sanctuary is route step 18 in the expanded set and the second sanctuary page.
- Previous: Stone Sanctuary for the First Key of Hope.
- Next: Water Sanctuary for the Third Key of Hope and Meditation of Jibanam requirement.
In the broader route, it belongs near Kannir Belt, so return there if the sanctuary path becomes unclear.
Combat Tips
Preserve resources on the approach. Energy-themed routes often encourage movement, but careless dashing can place you inside enemy attacks. Use Blink after an enemy commits, then answer with short Claw strings or a chosen Engraved Skill. If the room has hazards or tight platforms, favor safety over damage.
Cabitz should make your most-used skill reliable. Do not enter a sanctuary with a build designed for a previous boss if it does not help with the current enemies. If you are losing too much health before reaching the key, backtrack to the belt, refill blue-orb value through safer fights, and return through the best shortcut.
Related Pages
- Kannir Belt Region Guide - parent route for Kannir Sanctuary.
- Walkthrough Guide - sanctuary placement in the broader route.
- Engraved Skills Guide - counters and skill planning for elite rooms.
- Ain Boss Guide - confirmed three-seal story context.
- Water Sanctuary Region Guide - next key in the seal chain.
Adjacent Regions & Seals
- Kannir Belt — Parent region for the Second Key of Hope.
- Stone Sanctuary — Previous Key of Hope seal in the sequence.
- Water Sanctuary — Next Key of Hope seal after Kannir Sanctuary.
- Sealed Spire — Final area that makes seal progress relevant.